

How To Run Mysql On Windows 7
Summary: in this tutorial, you lot will learn step past step how to install MySQL on the Windows platform using the MySQL Installer. After the tutorial, y'all will have a MySQL server and its tools up and running on your organization for learning and practicing.
Note that if you use other operating system platforms such equally Linux and macOS, yous utilise the following tutorial:
- Install MySQL 8 on CentOS vii
- Install MySQL 8 on Ubuntu
Download MySQL Installer
If y'all want to install MySQL on the Windows environment, using MySQL installer is the easiest way. MySQL installer provides you with an piece of cake-to-apply sorcerer that helps you to install MySQL with the following components:
- MySQL Server
- All Available Connectors
- MySQL Workbench with Sample Data Models
- MySQL Notifier
- Tools for Excel and Microsoft Visual Studio
- MySQL Sample Databases
- MySQL Documentation
To download MySQL installer, become to the following link http://dev.mysql.com/downloads/installer/. In that location are two installer files:
- If you are connecting to the net while installing MySQL, you lot can choose the online installation version
mysql-installer-spider web-customs-<version>.exe. - In instance you want to install MySQL offline, you lot tin can download the
mysql-installer-customs-<version>.exefile.
Install MySQL via MySQL Installer
To install MySQL using the MySQL installer, double-click on the MySQL installer file and follow the steps below:

Install MySQL Step one: Windows configures MySQL Installer
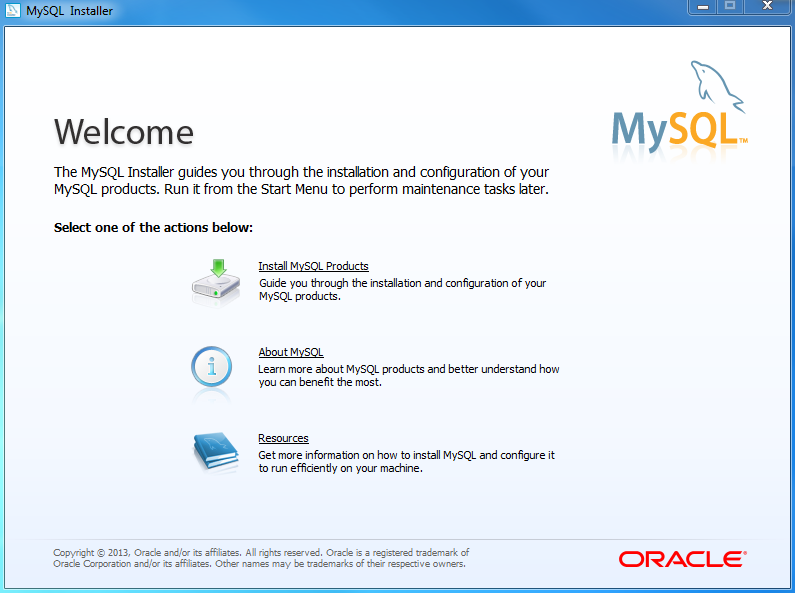
Install MySQL Step 2 – Welcome Screen: A welcome screen provides several options. Choose the first selection: Install MySQL Products
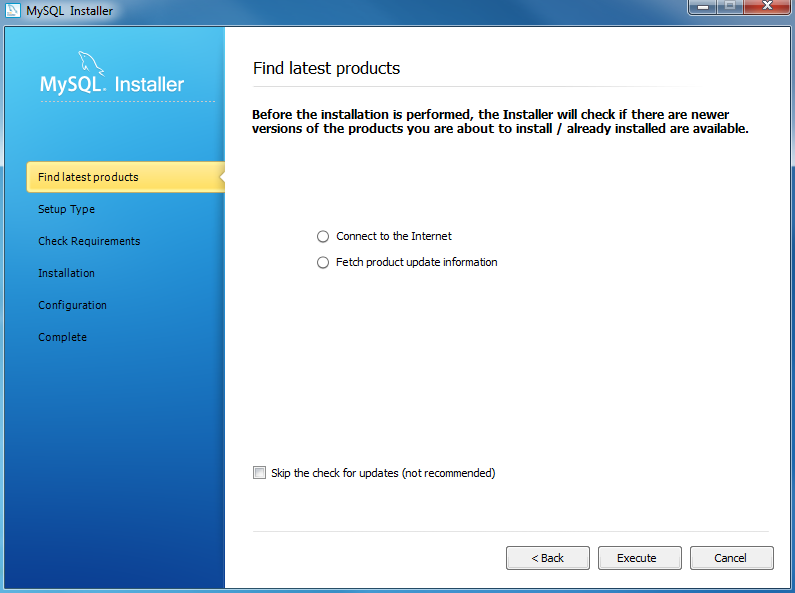
Install MySQL Pace 3 – Download the latest MySQL products: MySQL installer checks and downloads the latest MySQL products including MySQL server, MySQL Workbench, etc.
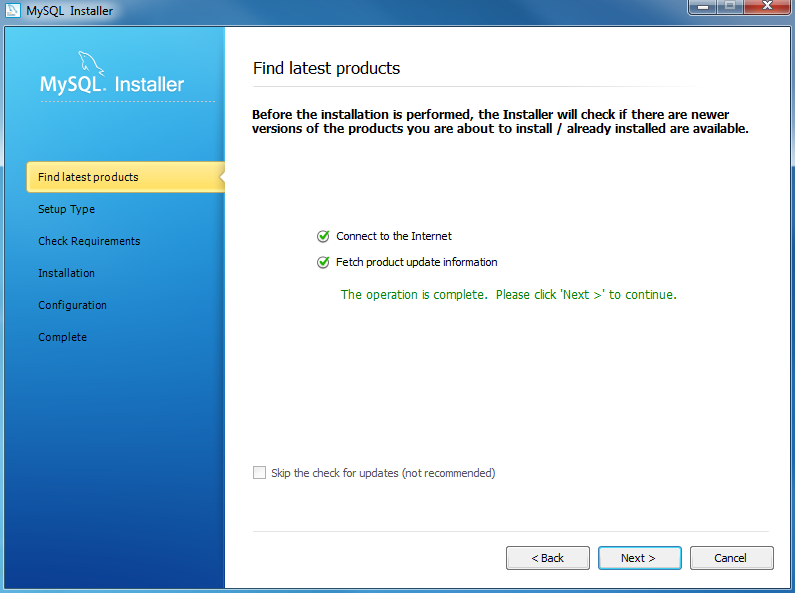
Install MySQL Step 4: Click the Next push button to go along
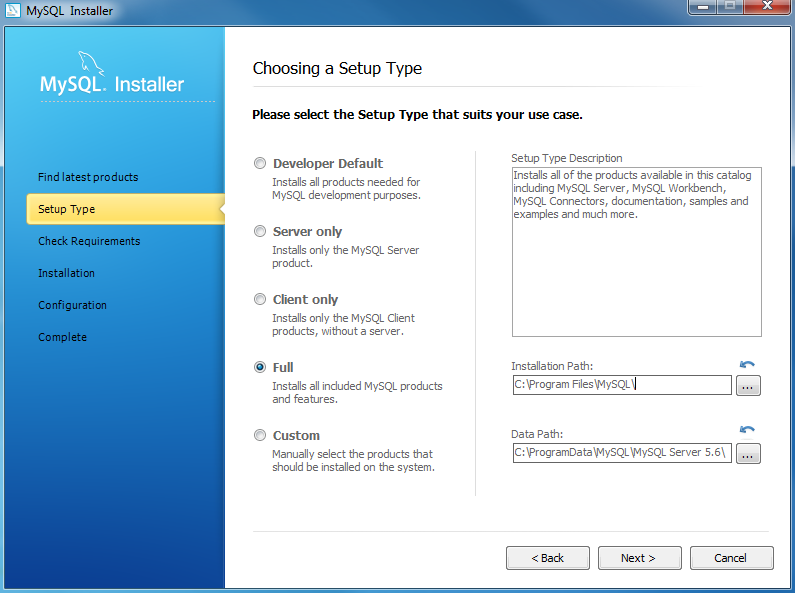
Install MySQL Step 5 – Choosing a Setup Type: at that place are several setup types available. Choose the Total option to install all MySQL products and features.
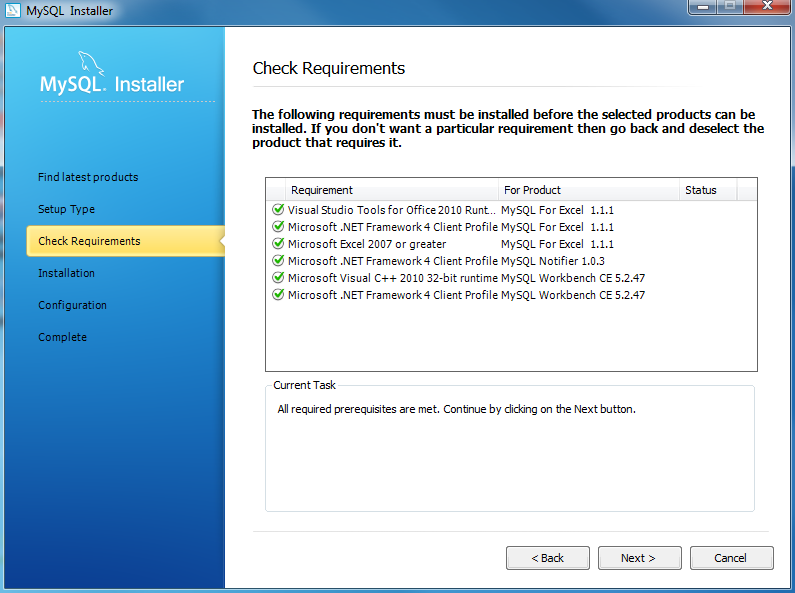
Install MySQL Step 6 – Checking Requirements
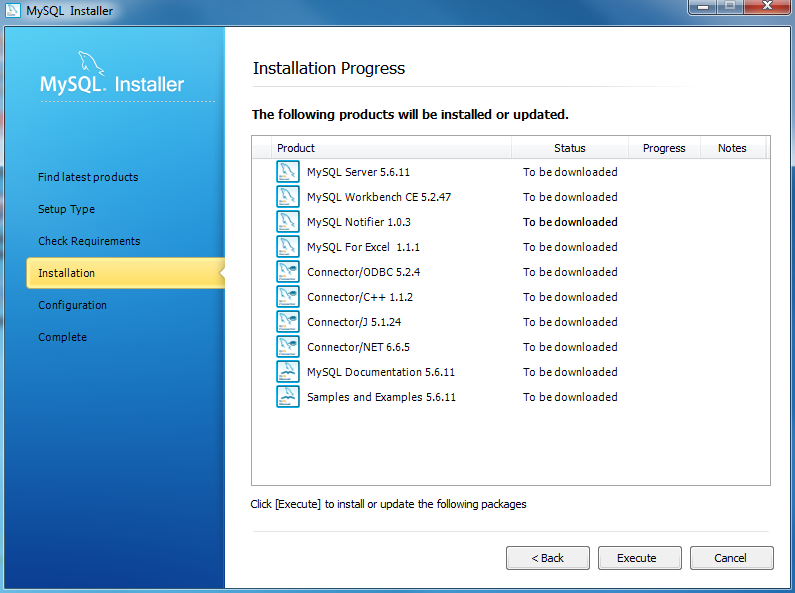
Install MySQL Step 7 – Installation Progress: MySQL Installer downloads all selected products. It will take a while, depending on which products y'all selected and the speed of your internet connexion.
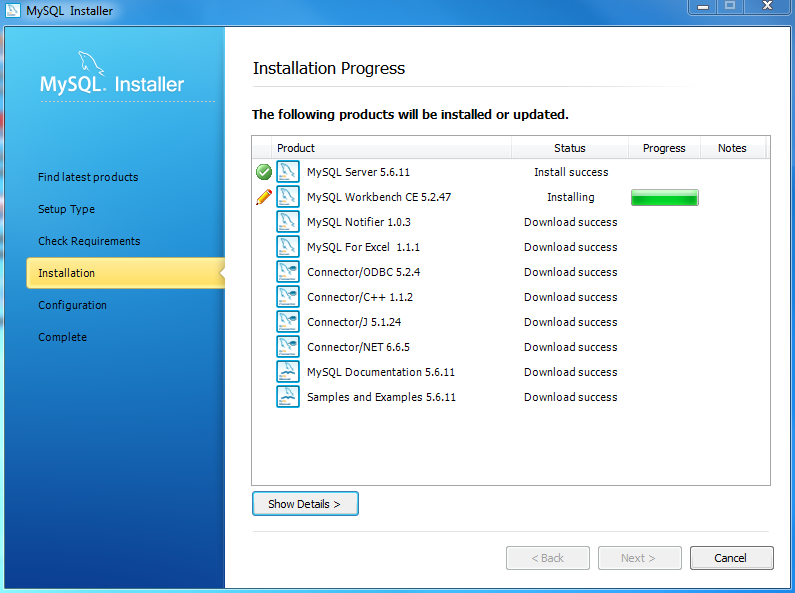
Install MySQL Step seven – Installation Progress: downloading Products in progress.
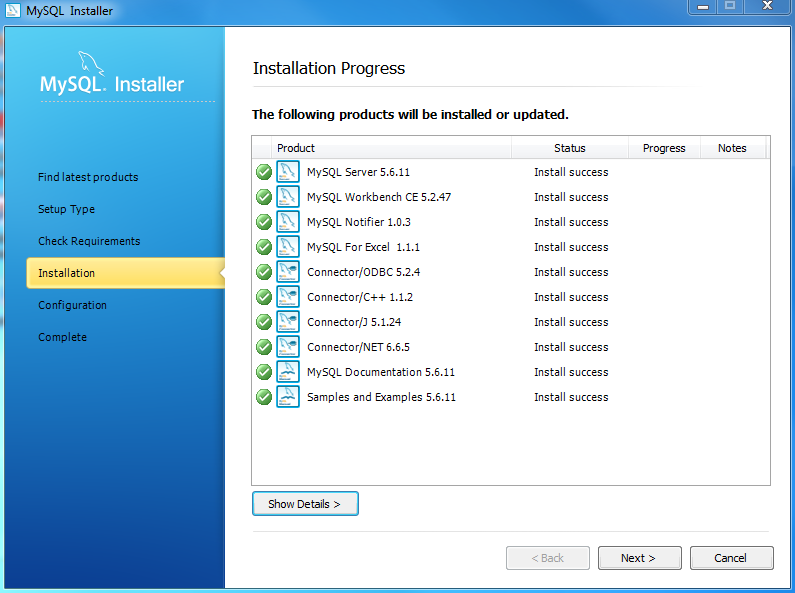
Install MySQL Step 7 – Installation Progress: Consummate Downloading. Click the Next button to proceed…
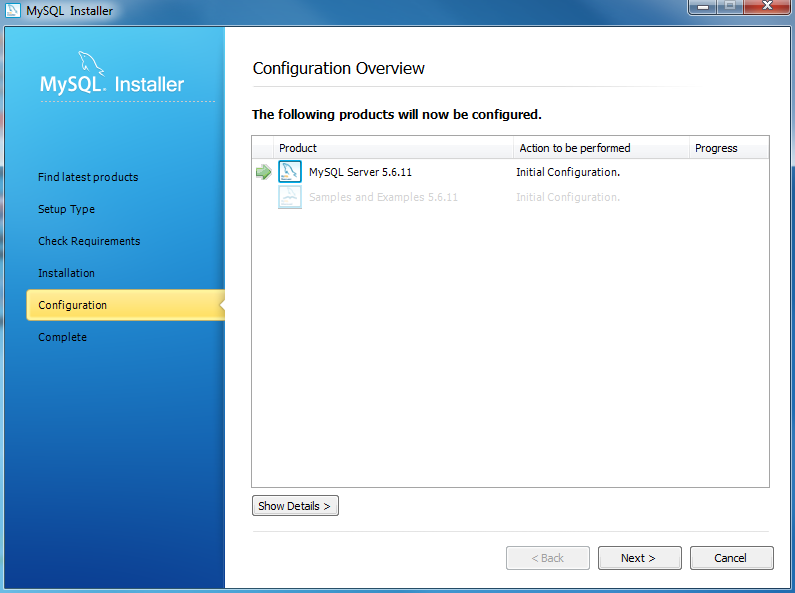
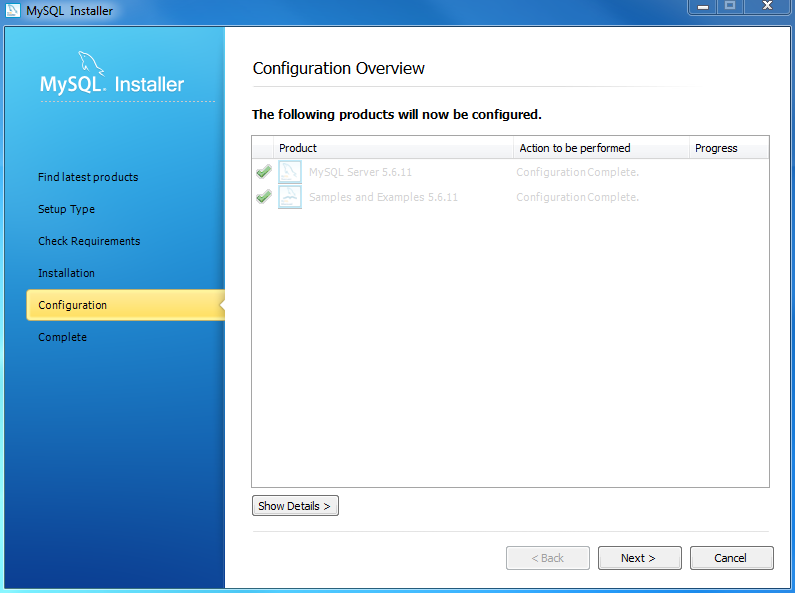
Install MySQL Step 8 – Configuration Overview. Click the Adjacent push button to configure MySQL Database Server
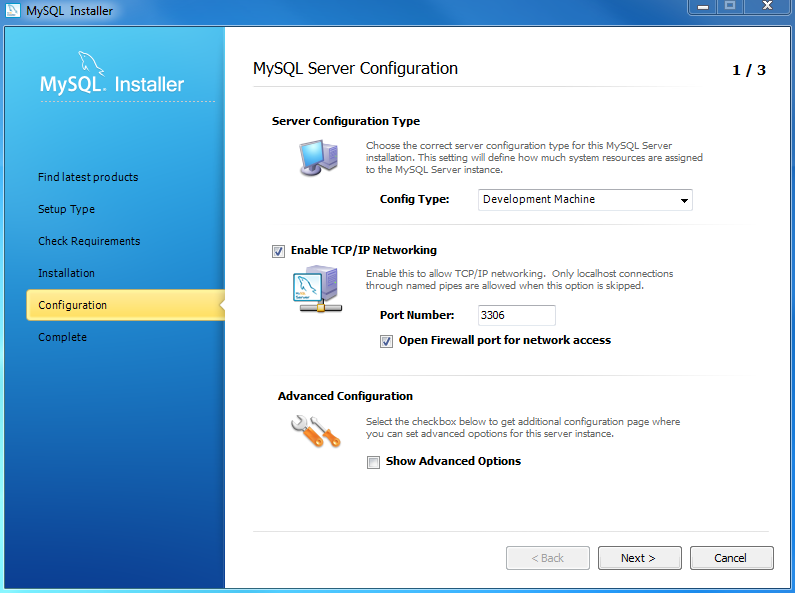
Install MySQL Stride 8.1 – MySQL Server Configuration: choose Config Blazon and MySQL port (3006 by default) and click Adjacent push button to continue.

Install MySQL Pace eight.1 – MySQL Server Configuration: choose a password for the root account. Delight note the password download and keep it deeply if y'all are installing MySQL database server on a product server. If y'all want to add a more MySQL user, y'all can do it in this step.
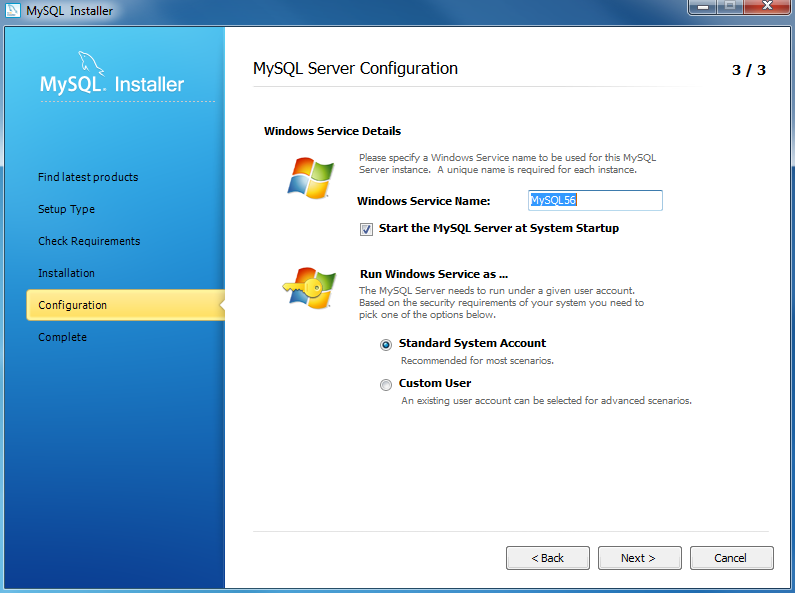
Install MySQL Step 8.1 – MySQL Server Configuration: choose Windows service details including Windows Service Name and account type, then click Side by side button to continue.
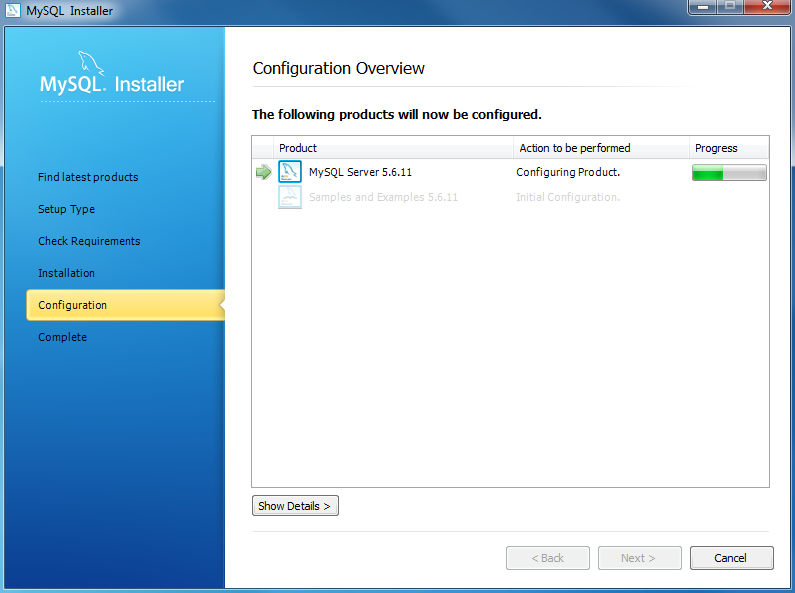
Install MySQL Step 8.1 – MySQL Server Configuration – In Progress: MySQL Installer is configuring MySQL database server. Wait until it is washed and click the Next button to continue.
Install MySQL Step eight.1 – MySQL Server Configuration – Done. Click the Next button to continue.

Install MySQL Step 8.two – Configuration Overview: MySQL Installer installs sample databases and sample models.
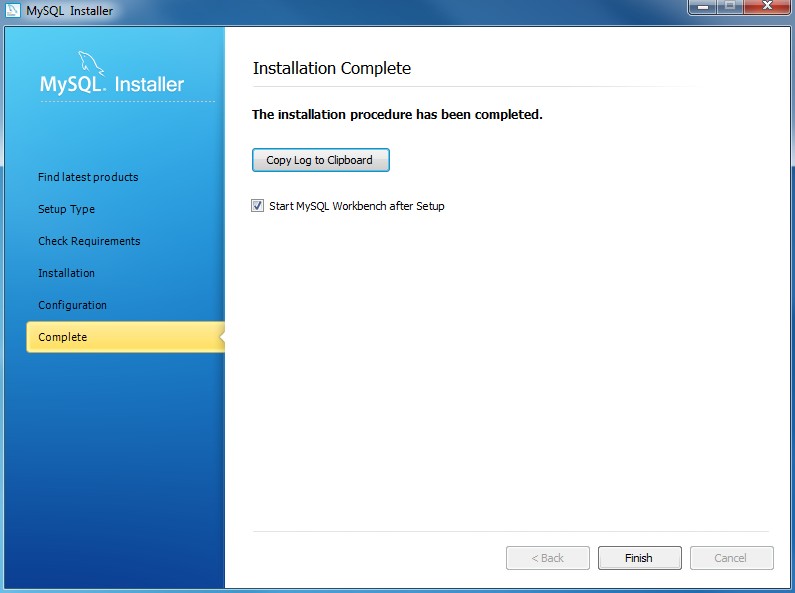
Install MySQL Step 9 – Installation Completes: the installation completes. Click the Finish button to close the installation wizard and launch the MySQL Workbench.
In this tutorial, y'all have learned how to install MySQL on your Windows system using the MySQL installer.
Was this tutorial helpful?
Source: https://www.mysqltutorial.org/install-mysql/
Posted by: dotsonhaile1950.blogspot.com
0 Response to "How To Run Mysql On Windows 7"
Post a Comment